

Summer Makeup Routine
/
I love a natural makeup look, especially in the summer when I don't want to be wearing a ton of product on my face that I know will just sweat off. In the past two years, I feel like I have really narrowed down the products and routine I like for a cute summer look, and today thought I would share them with you all. So if you want to find out more about my everyday makeup routine for summer keep on reading. This post is in no way sponsored by any of these brands, they are just ones I have used for many years, and can recommend to you with confidence. So without further ado, let's get into it!


The first thing I like to do before applying my makeup is to wash my face. Dirt naturally accumulates on your face while you sleep, so I just love having a fresh face to help wake me up and feel clean. Then if my skin is feeling a little dry I will also apply a moisturizer. If it's not, I just skip to this next product, the Neutrogena healthy skin face primer to give myself an even surface to start applying my makeup onto. I put a little dot, (about the size of a dime) on my hand and apply it all over my face. This primer is great because it is super light, and also has SPF 15 in it, which for someone as pale as me is always a plus.


After applying my primer I go in with concealer. I'm not a huge fan of putting foundation all over my face, it just feels like too much on my skin, especially in the summer. So instead of foundation, I just use concealer under my eyes, on my nose, in between my eyebrows, and on my chin as shown in the photo above. I find that for me these are the areas that are usually red, or broken out, so I do like to give them a bit of coverage, but the concealer doesn't make it feel like there is a ton of product on my face. Then I rub that all in with a beauty blender. I also put a little dot on each eyelid which I rub in with my finger, to act as an eyeshadow primer. This just helps the eyeshadow stay on longer and have a richer pigment.
I have been using the Sephora name brand concealer for years, and really love it. I know it is a little more pricey, but I have tried a few cheaper drug stores brands and found that they all make me break out, so concealer is the one product I'm willing to spend a little more money on. Then to set my concealer, I just put a light layer of setting powder on my entire face to even it out using a large fluffy makeup brush. I have been using this one from Almay, which you can buy at most drugstores, and find it works great! And the brush is just a standard fluffy brush which you can buy pretty much anywhere and can be seen in the picture below on the left.


Next, I'll use a little bit of bronzer just to add some color back to my face. I just recently started using this natural bronzer from Rimmel, another great drugstore pick-up. It works so well and I like how it gives me a pop of color without being too dark on my light skin. To apply it I use the pointed brush which you can see in the picture above. I get a little amount of the powder on the brush and suck in my cheeks as shown above and apply it right under the apple of my cheeks. I also put a little bit on my forehead and under my chin.
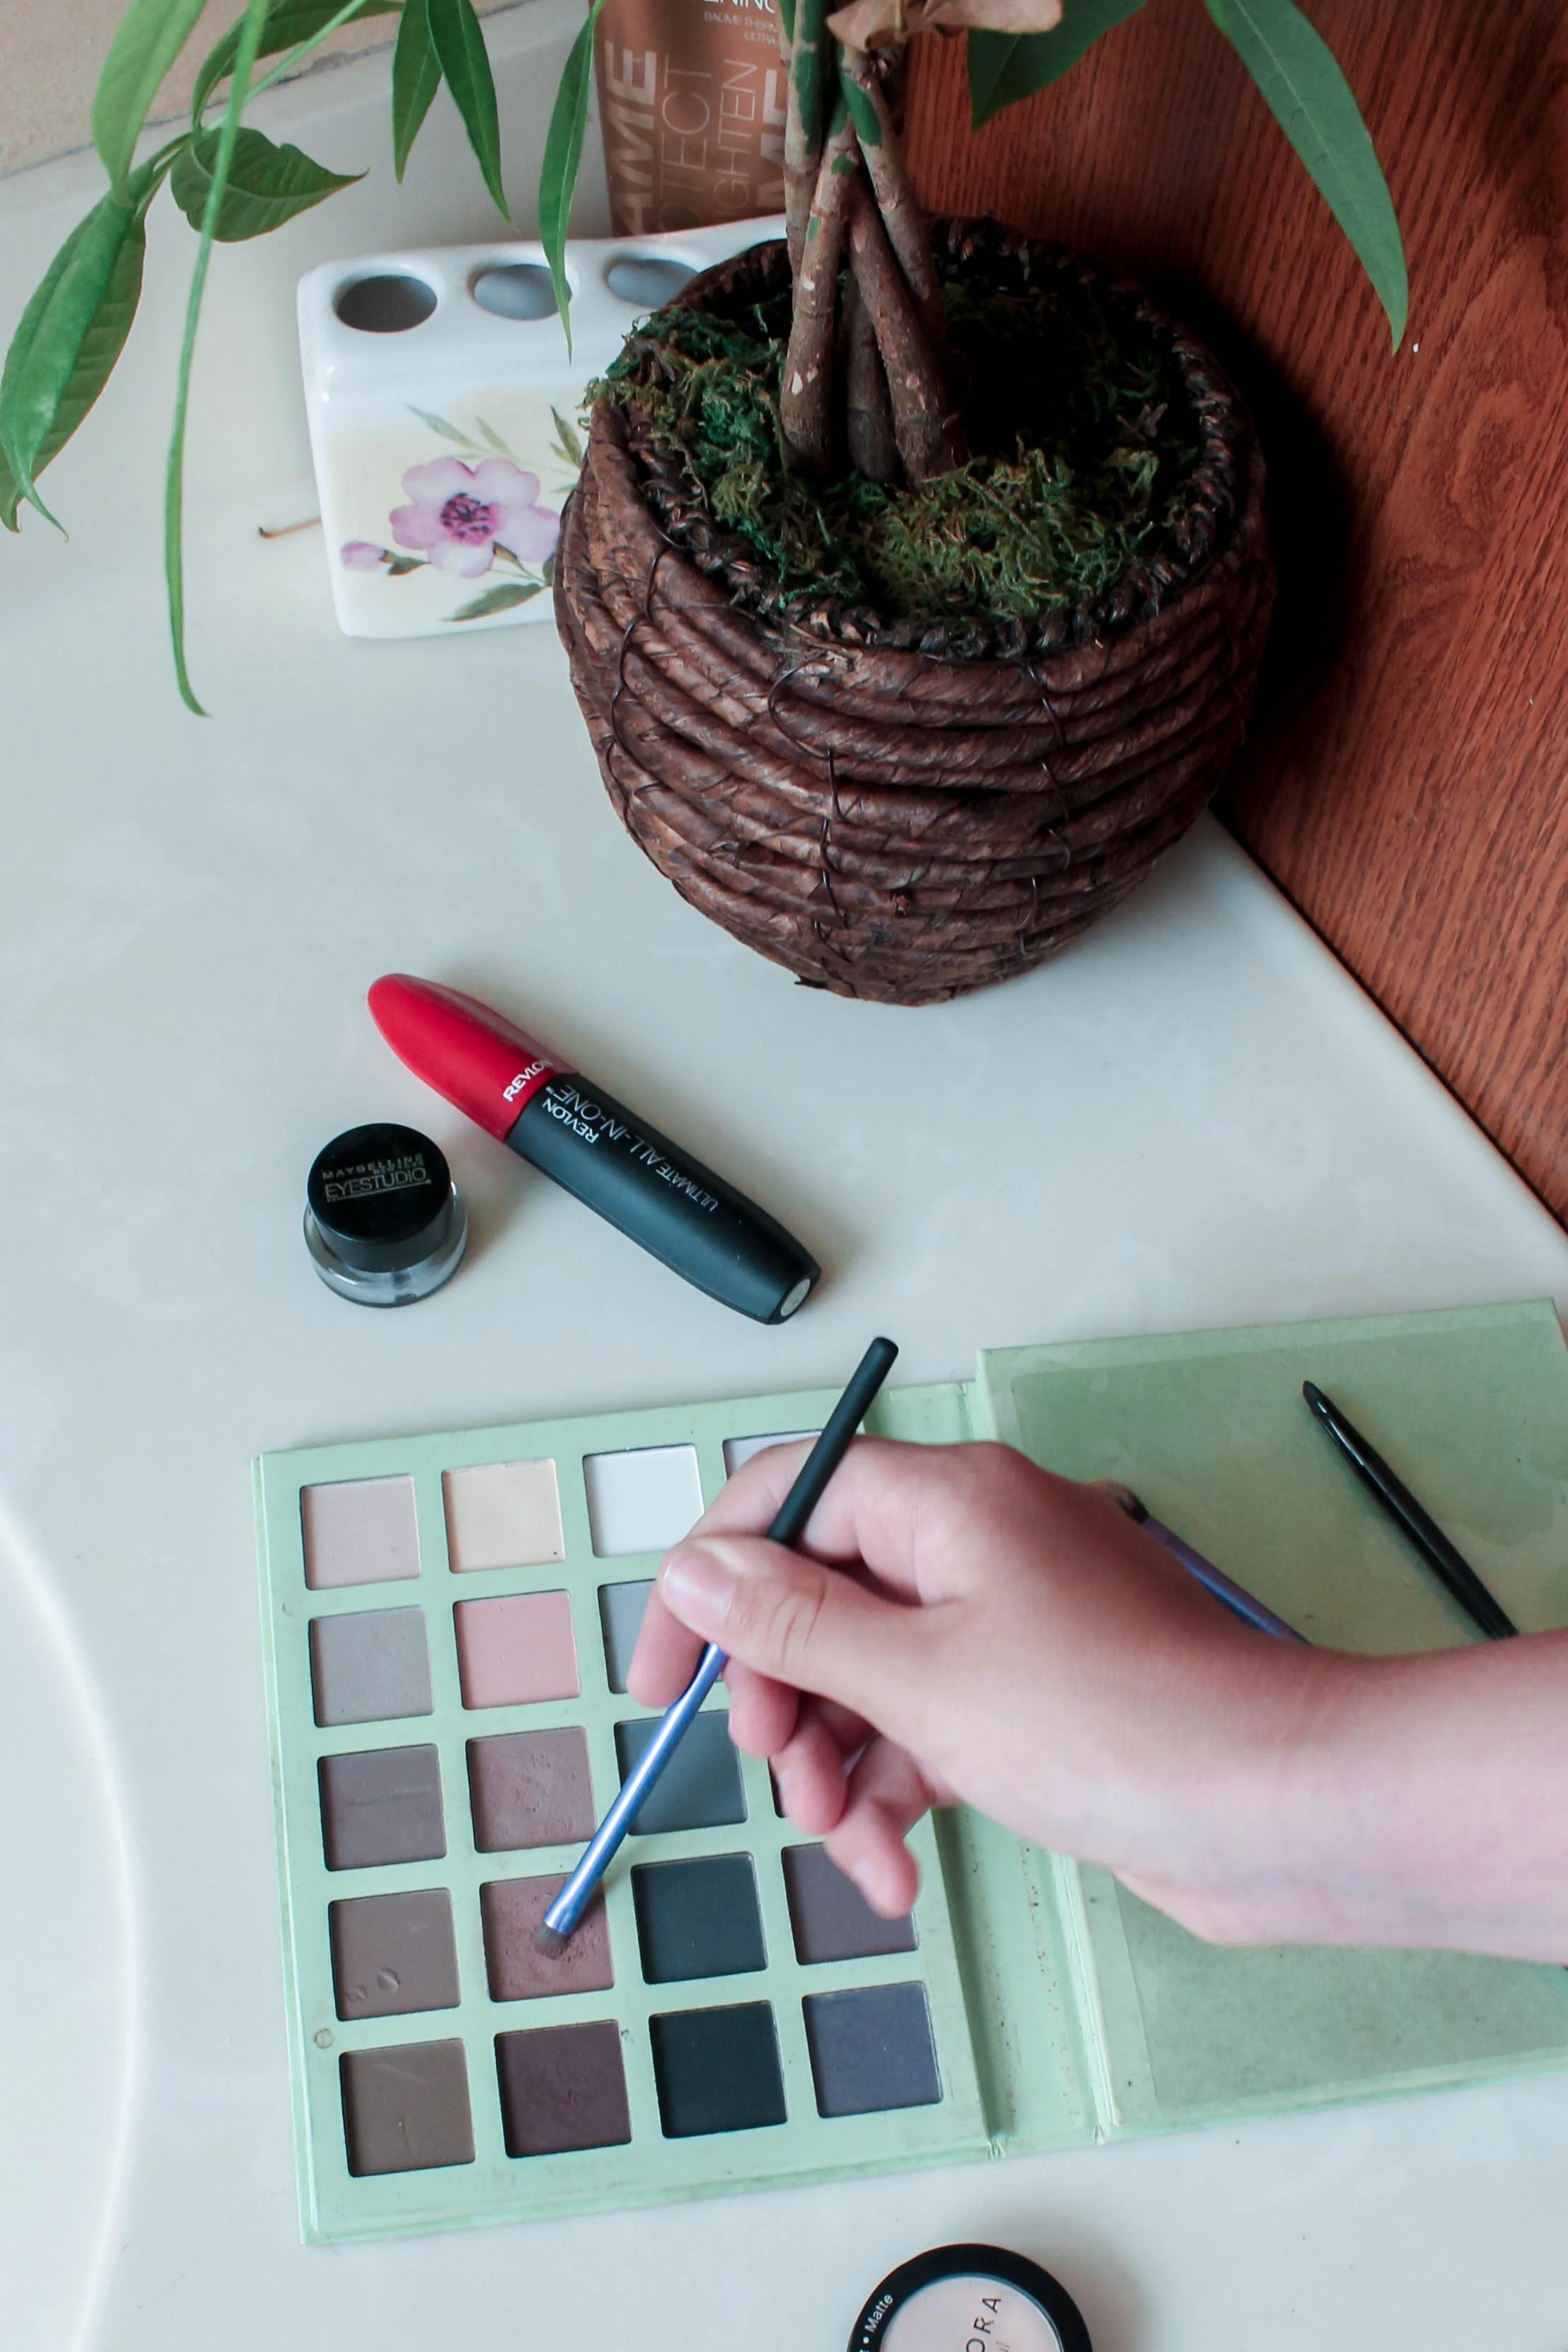

Next up is eyeshadow, which to me is the most important step. All of the steps up to this point are not necessarily things I do every day. If I'm being lazy or in a hurry, I will just skip to my eye makeup and only do that because I love having my eye makeup done. It just helps me to feel a little bit more put together, especially if I'm in a rush. To apply all of my eye makeup, I use this makeup brush set from Real Techniques. I have been using this set for the past five years, and I never really need any brushes other than what is in this kit. For a more natural look, I love sticking to warm brown colors for my eyeshadow. To start, I put a base color on my entire eyelid that matches my skin color using the flat fluffy brush included in the kit. My go-to color is this one from Sephora, but any eyeshadow color that is close to your natural skin color will work!
Next, I like to use the small brush like the one shown above and put a layer of matte brown on just my eyelid. I'm pointing to the exact shade I have been loving to use in the image above on the left, which is part of a makeup palette from the brand Pixie that I have been using for about a year now. Unfortunately, it was a holiday special edition kit and is no longer being sold. But I found a great kit that is also from Pixi which you can check out here, with similar colors and tones. After both eyelids have a nice layer of the lighter brown on them, I use a darker brown color (featured directly below the lighter brown color I'm pointing to in the image above) in my crease (the area between your eyelid and eyebrow) and on the outer corners of my eyes. I put a pretty heavy layer in these areas and then using a bit of a bigger fluffy eyeshadow brush (which you can see in the image below) I blend the dark color in until it just looks like I have a nice gradient across my lid.

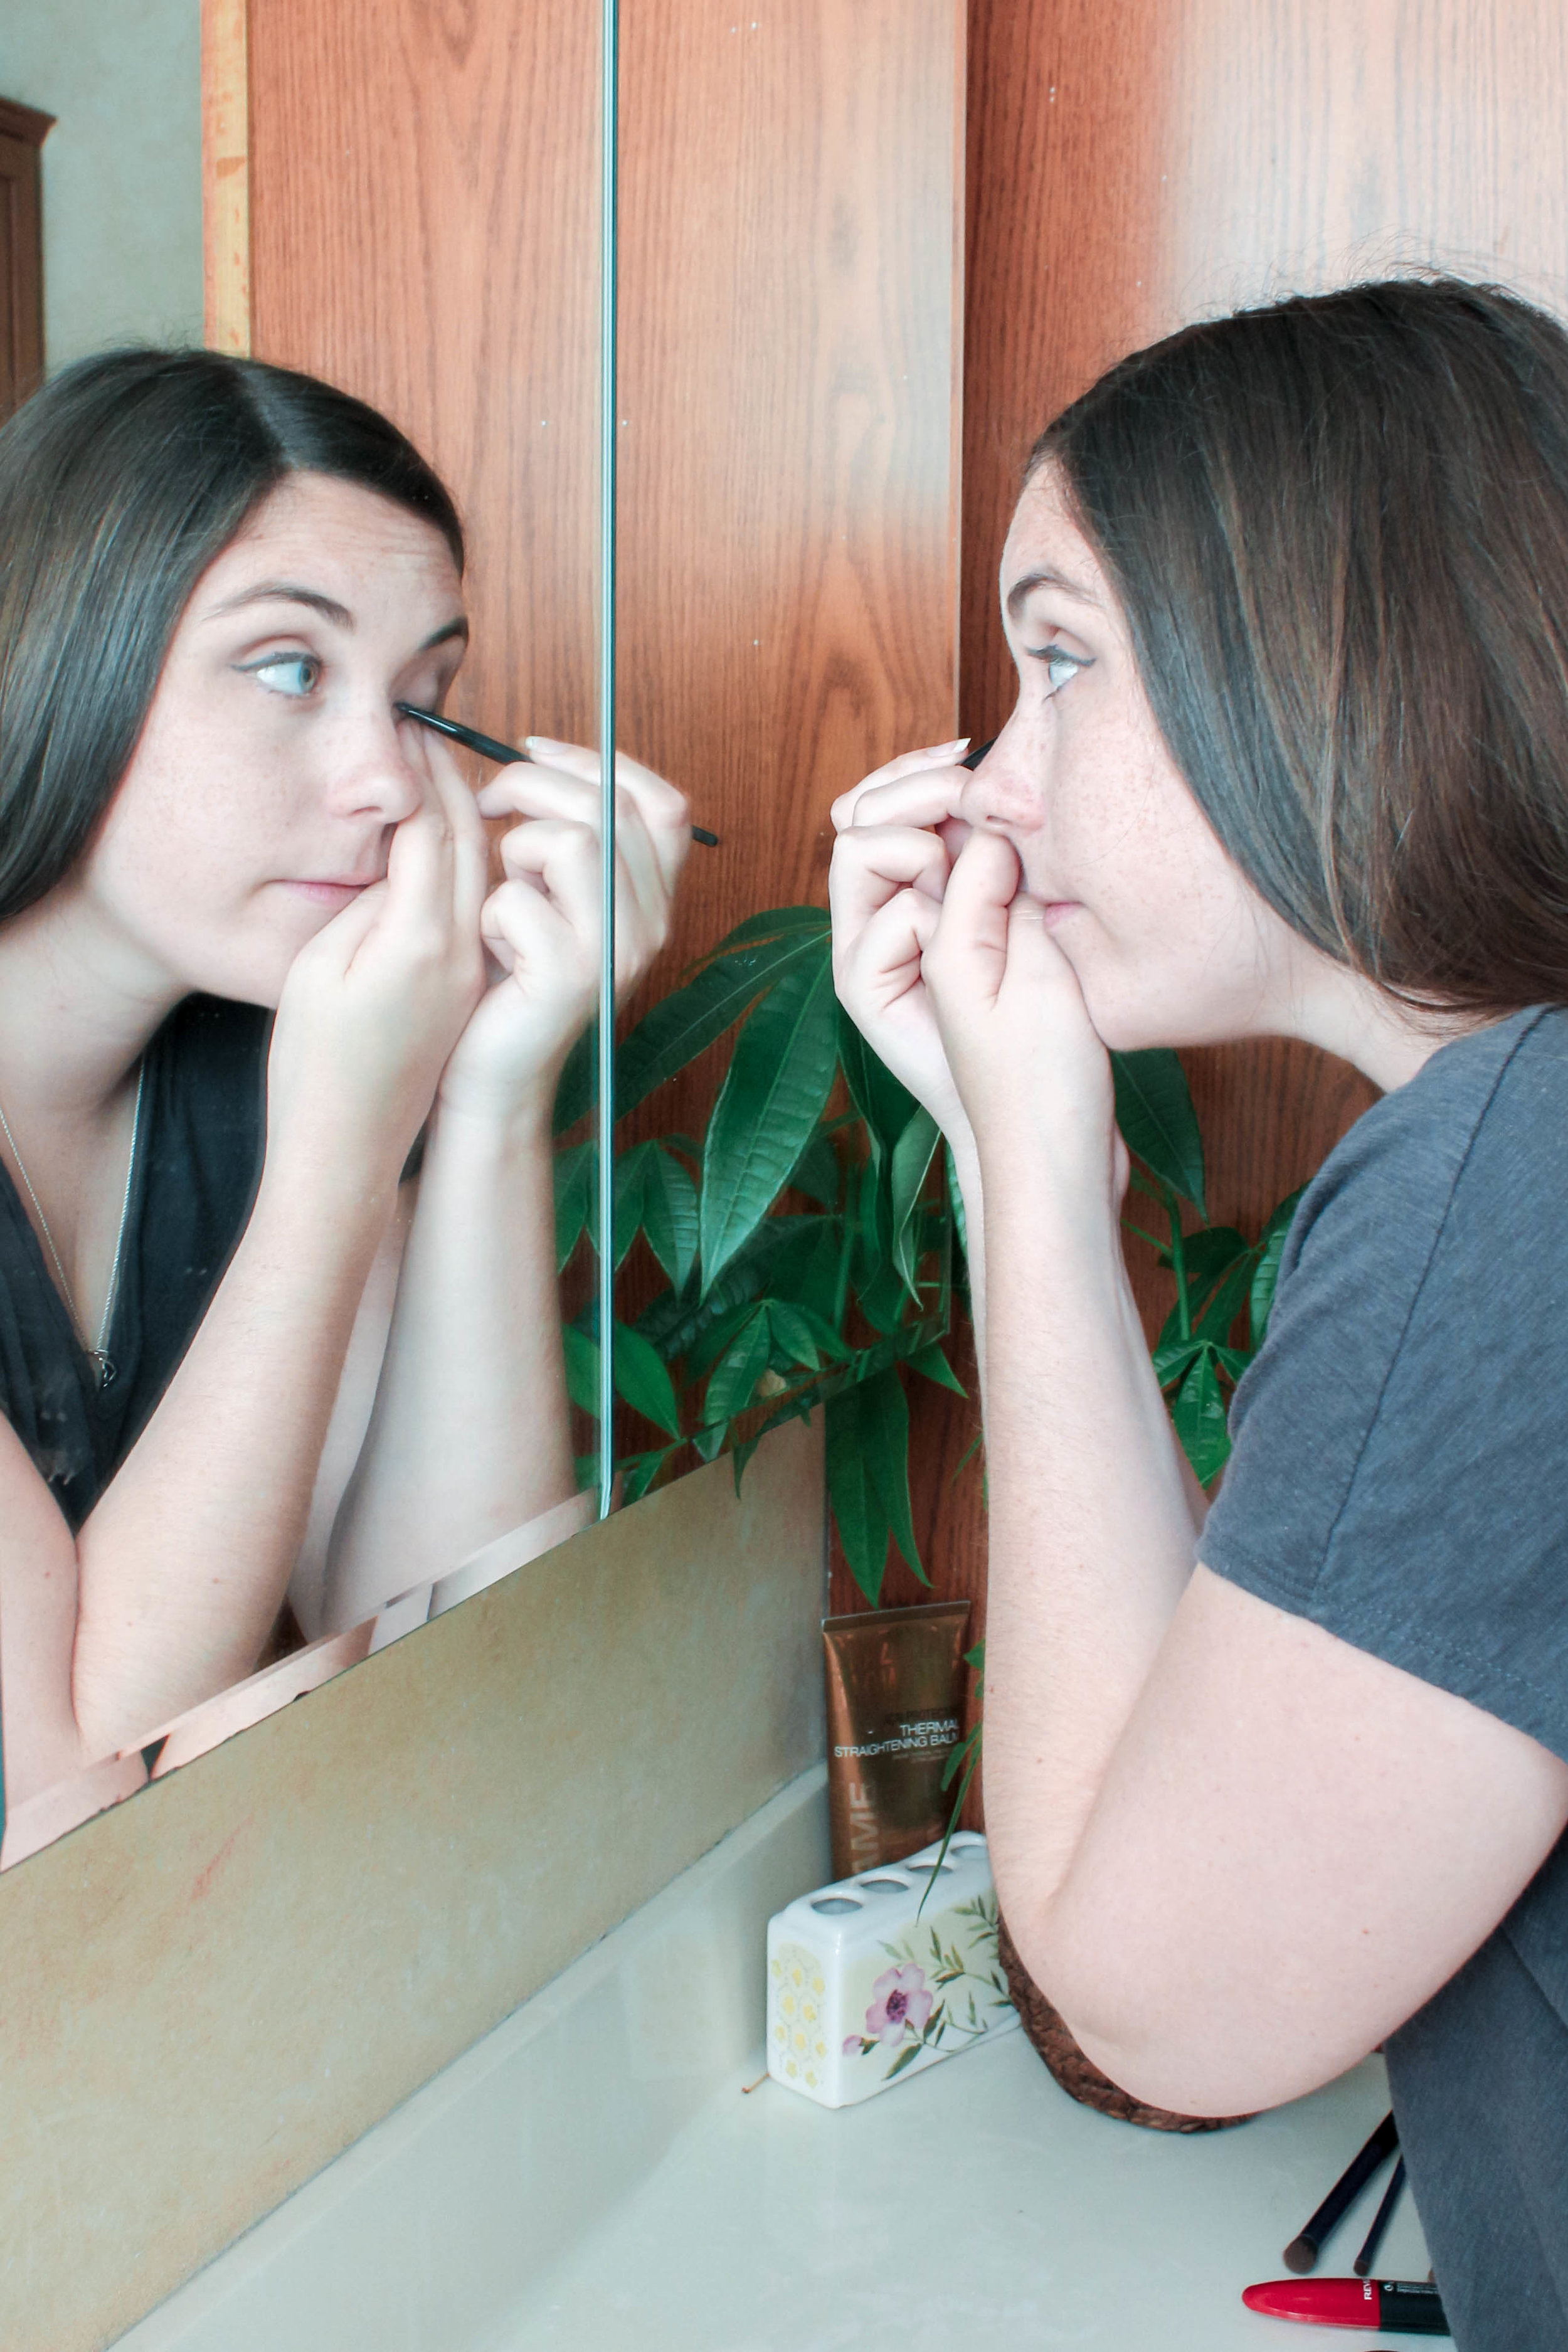
To finish up I like to use just a little bit of eyeliner and mascara. When I first started learning how to do my makeup, it took me a while to figure out what kind of eyeliner worked best for me. But since I found this matte black gel eyeliner from Maybelline I have never bought anything else. To apply it, I love to just use the small brush it comes with, it gives me so much more control than a pencil. And I love how the matte look goes with my eyeshadow. It is dark enough it makes my lashes appear fuller, but not so dark that it stands out too much. To apply my eyeliner I usually start in the inner corner of my eyelid and draw a thin line to the middle of my eyelid. I then begin another line starting in the outer corner of my eyelid and bring it in until it meets my first line in the middle. It takes some practice to figure out what strategy will work best for you, so if you are new to makeup, don't get discouraged if you can't get it just how you like it the first few times.

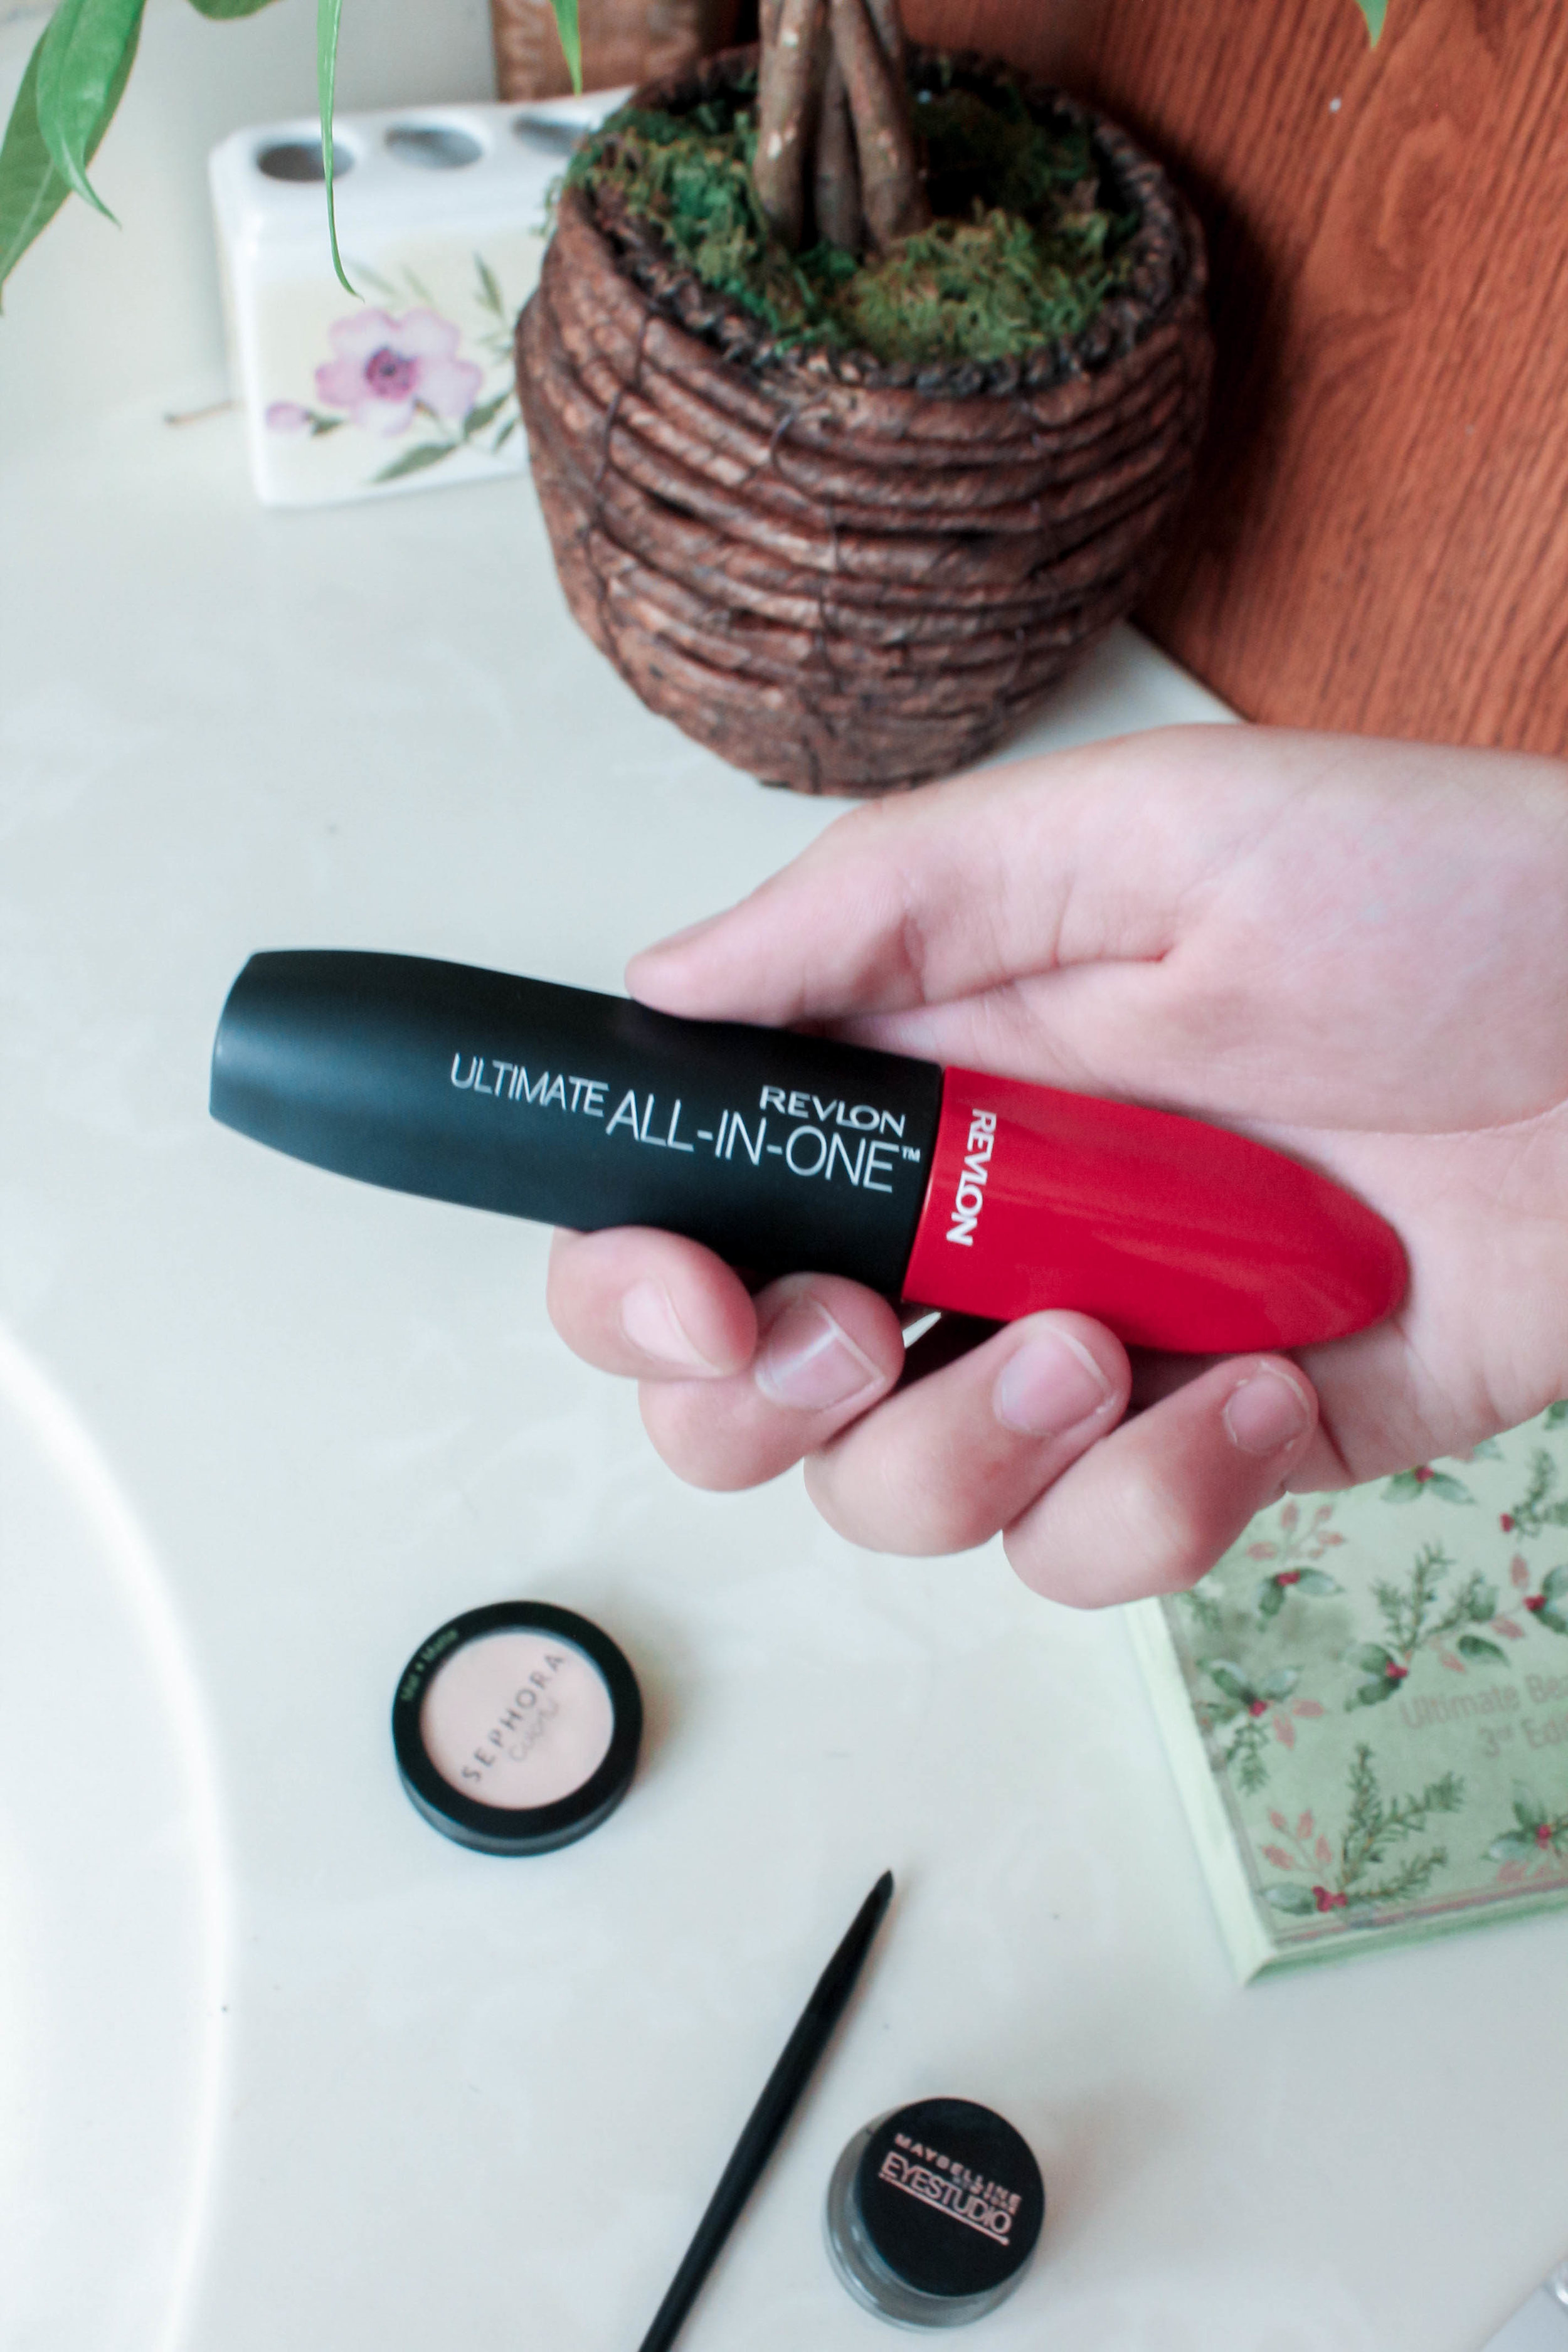
Lastly, I use an eyelash curler to help my eyelashes from clumping together when I apply my mascara, and then I apply one coat to my top lashes. My lashes are naturally pretty full, so I don't like to use a ton of mascara, because I don't want to ruin them. But I do like them to look a little darker, so I find that one layer usually helps with this. Lately, I have been using this one shown below from Revlon, and it has been working great for me!
Now I don't usually wear lip color, mostly because my lips are always chapped, and so I usually end up just rubbing it off. But when I do, I actually like to use a color stick rather than lipstick. I love this line of them from Neutrogena (which you can see below) because they are actually a moisturizer as well as a color stick. They help me out with my dry lips and give me just a little bit of a natural pop of color. I love how it looks, and it lasts a pretty long time before I need to reapply it.

And finally, no matter if I'm just doing eyeshadow or the full face, I always use a little bit of setting spray. Especially when my face is sweating so much in the summer, this just helps the makeup set into my skin a little more, and keep it on for longer. I bought this generic brand from the drug store, and it works great. You don't have to spend a ton of money on this product, but it will make such a difference in helping your makeup last. You can click here if you want to see the exact brand I use.

And that's it, my summer makeup routine. You can see the finished product below. As I said before I don't like it to really look like I'm wearing a ton of makeup, and I don't love loading my face up with a ton of products, because I hate how dirty it makes my skin feel. So if you are looking for a simple makeup routine that is good for the summer heat, I hope this post helped give you some ideas on how to achieve that look! If you would like to see more makeup posts make sure to comment below with what you would like to see and don't forget to give this post a like!


